I’ve always liked the look of bald cypress trees, and I saw an opportunity to try to recreate one in a small bald cypress vivarium with the intention to provide an area for growing a large patch of Davallia parvula, one of my favorite epiphytic ferns. Here is the finished product in December of 2022. Follow along this build post to see how I originally created this in the summer of 2021!
Table of Contents
Vivarium prep
Vivarium cleanup
The first step in this build was to prep an old vivarium for reuse. This involved cleaning up the old vivarium’s glass and removing cork bark that had been siliconed to the sides:
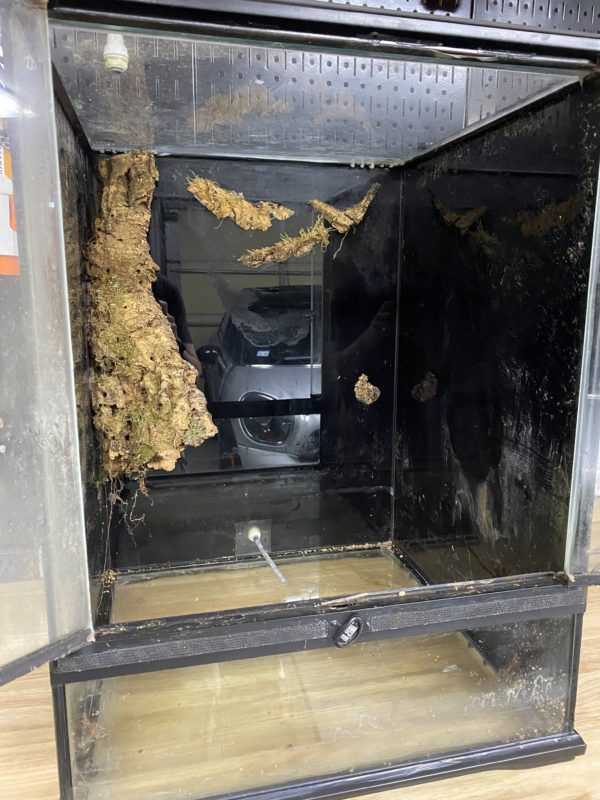
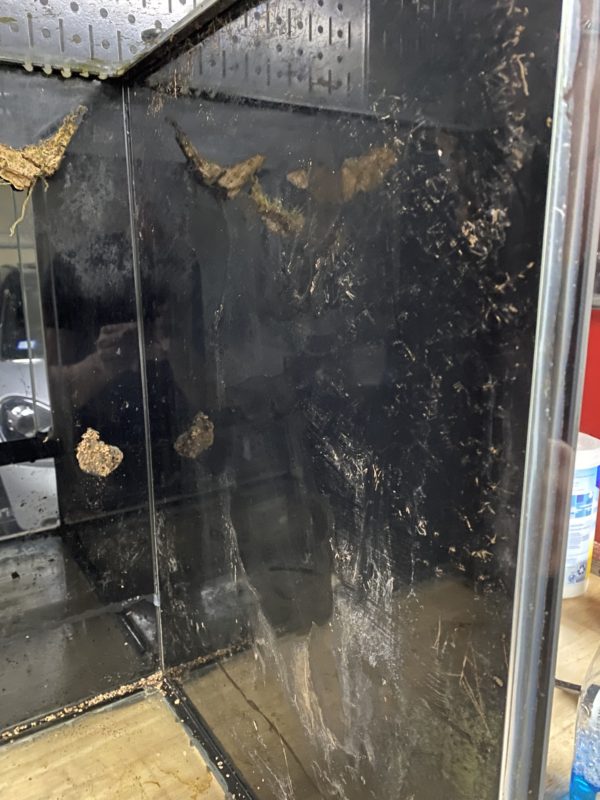
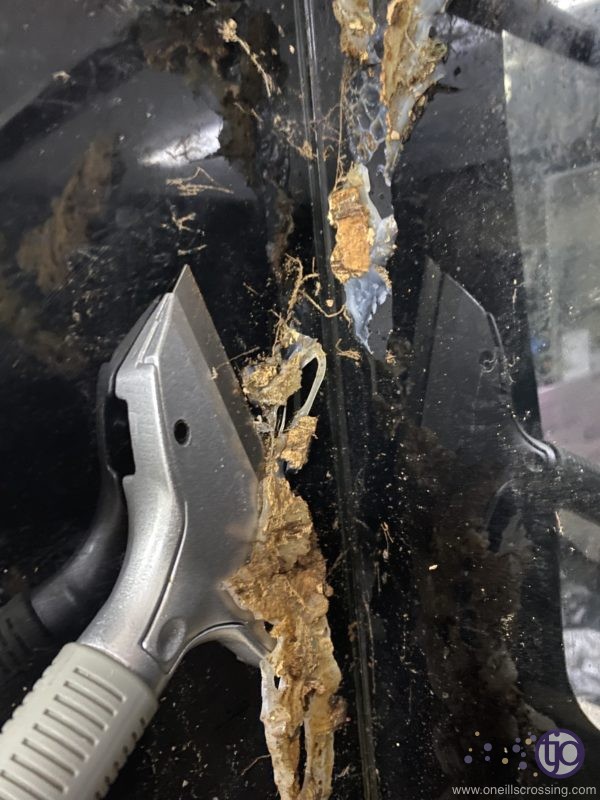
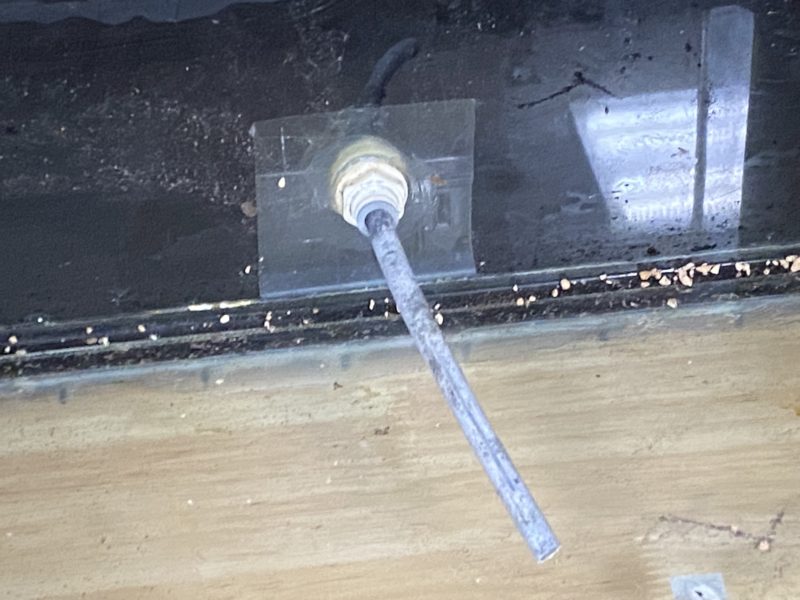
I had already drilled this vivarium and installed a bulkhead:
False bottom build
An integral part to a naturalistic vivarium is a good false bottom. I prefer to use egg crate and fiberglass screen, similar to what I used in my larger vivariums, like our green tree monitor build. This section will walk you through my build process.
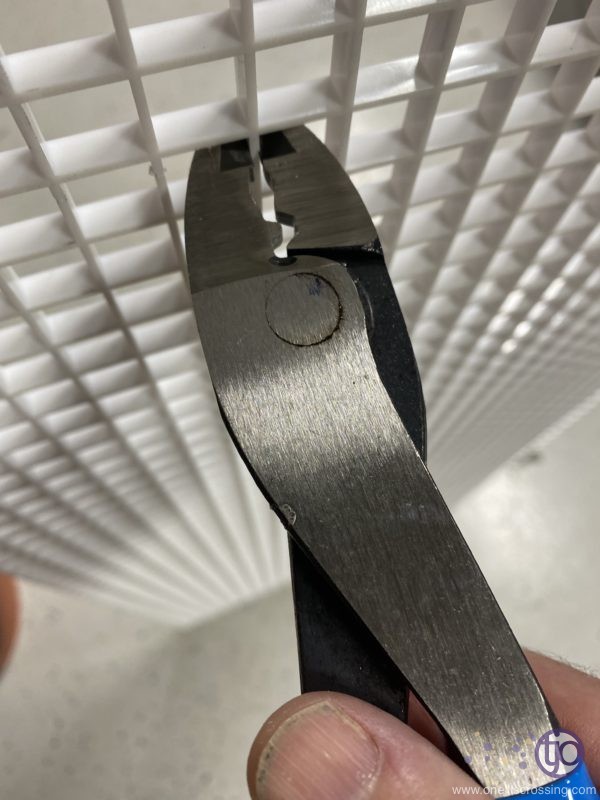
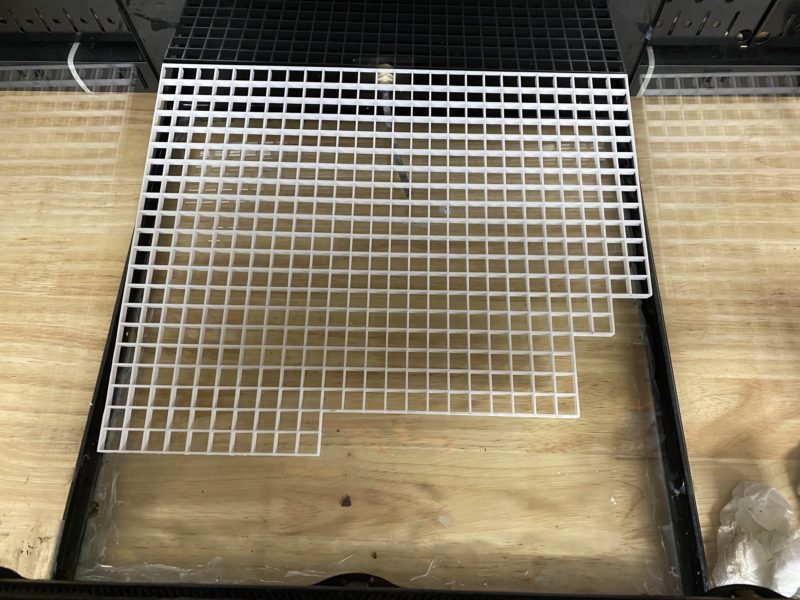
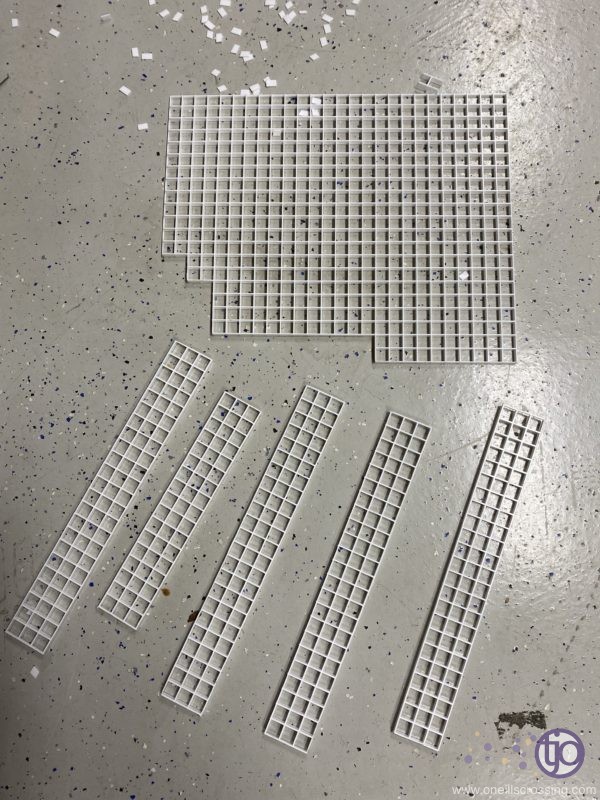
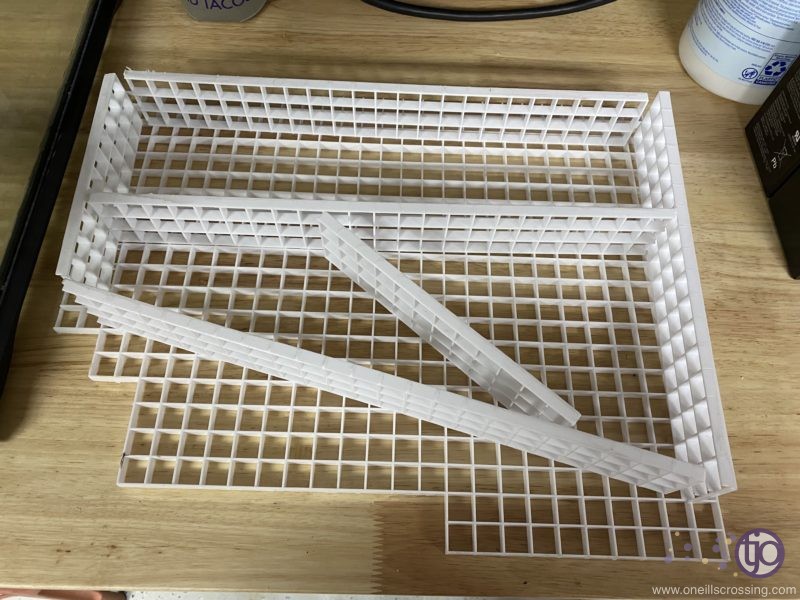
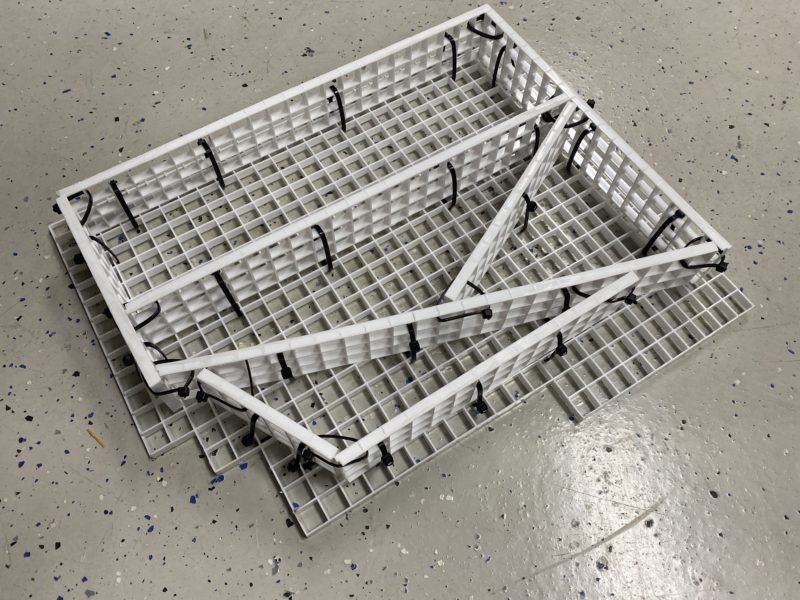
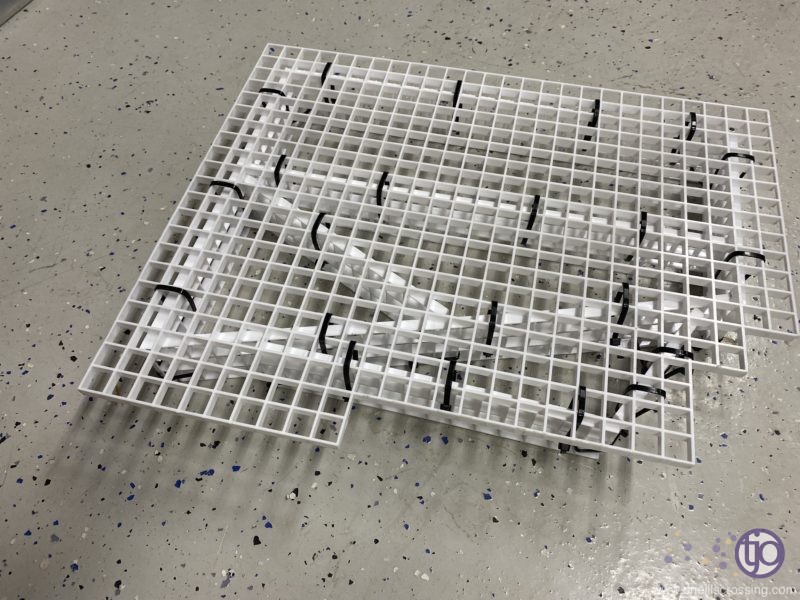
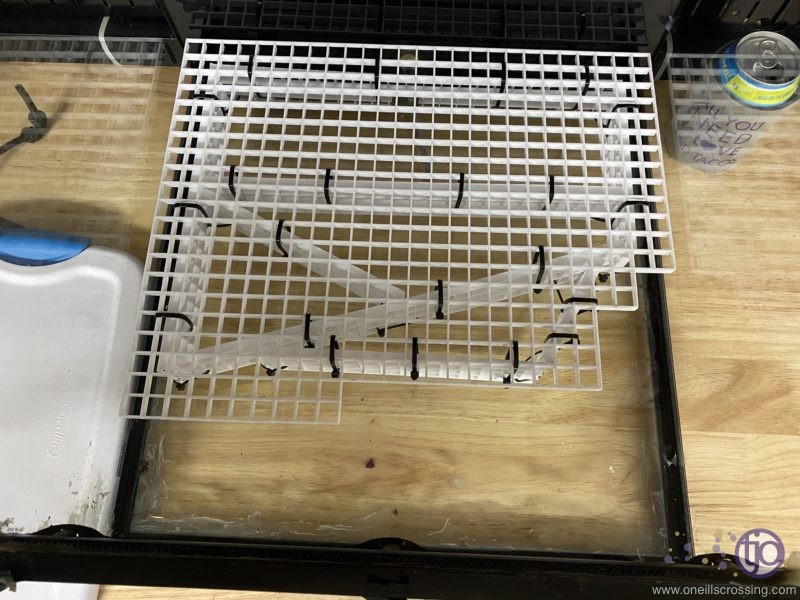
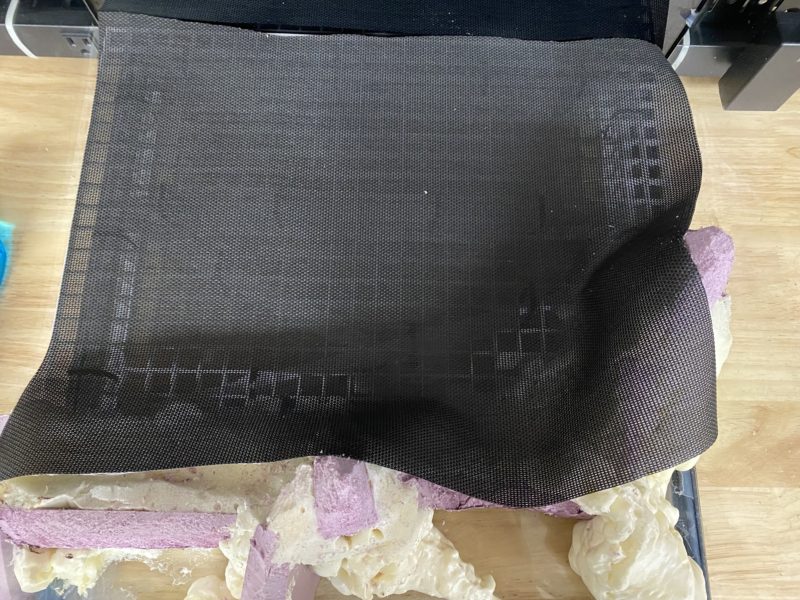
I left room out front for a foam bulkhead to hide the false bottom, as well as false bottom access so I could create a deposition pool for tadpoles. Once the false bottom was in I added the foam out front to carve in some simulated rock bulkheads along with some fake roots. I also added a layer of fiberglass solar screen cut to fit above the egg crate to hold up the substrate.
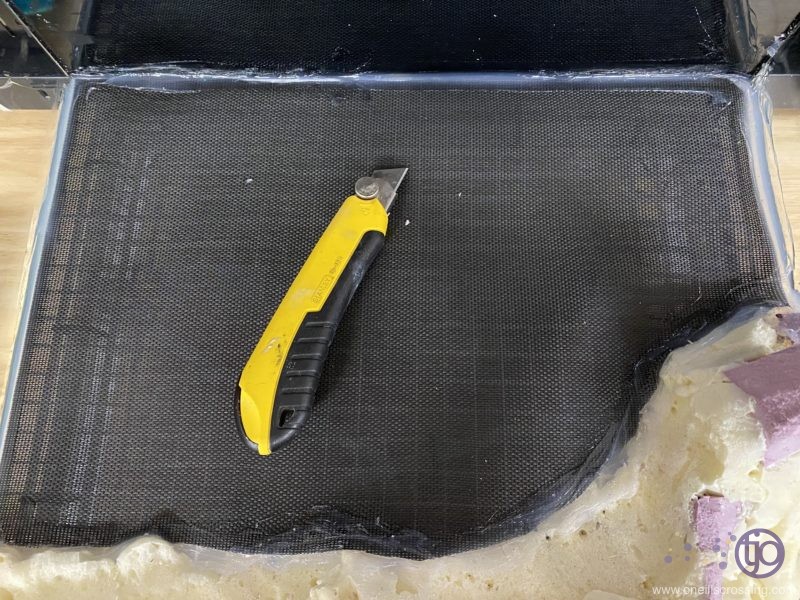
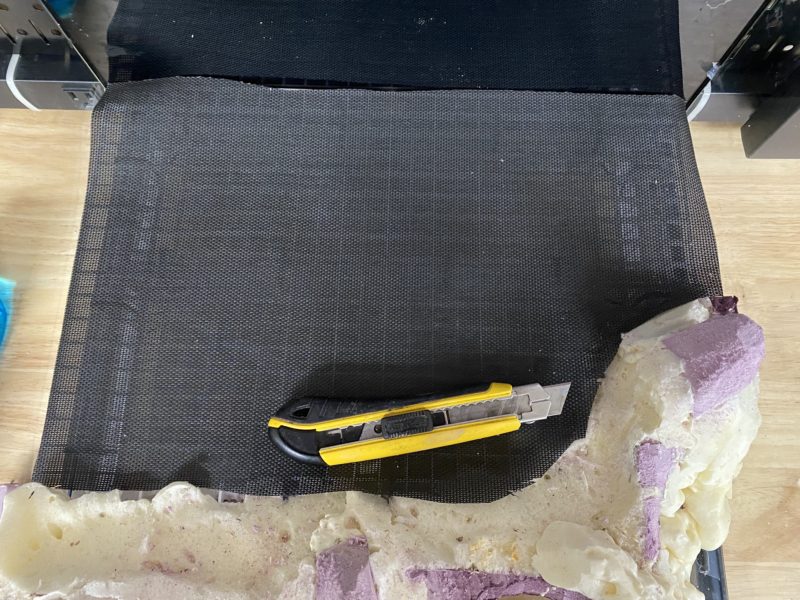
Foam work
Now for the fun part! I built a simulated bald cypress tree using Foamular 150, gorilla glue, and great stuff. Foamular is a closed cell, waterproof foam that is easy to shape with basic tools like knives, razors, foam cutting tools and heat guns. It holds paints well, and generally holds up well in high humidity environments like vivariums.
Forming the bald cypress vivarium trunk
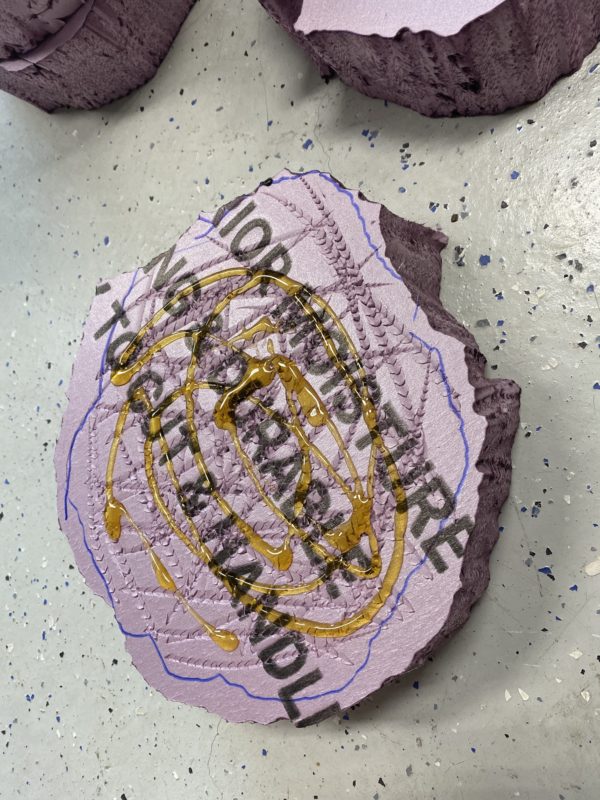
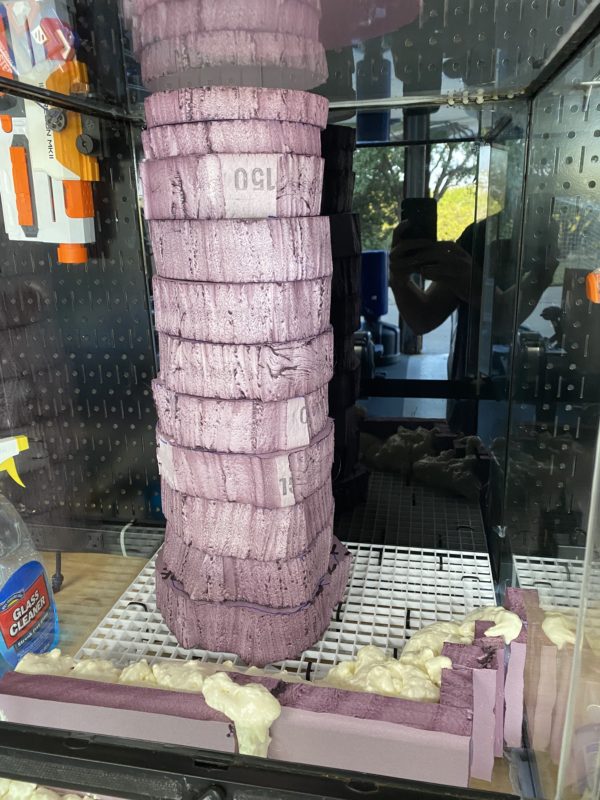
The process started by cutting a series of foam discs, scoring them, and gluing them together, periodically test fitting for the appropriate height:
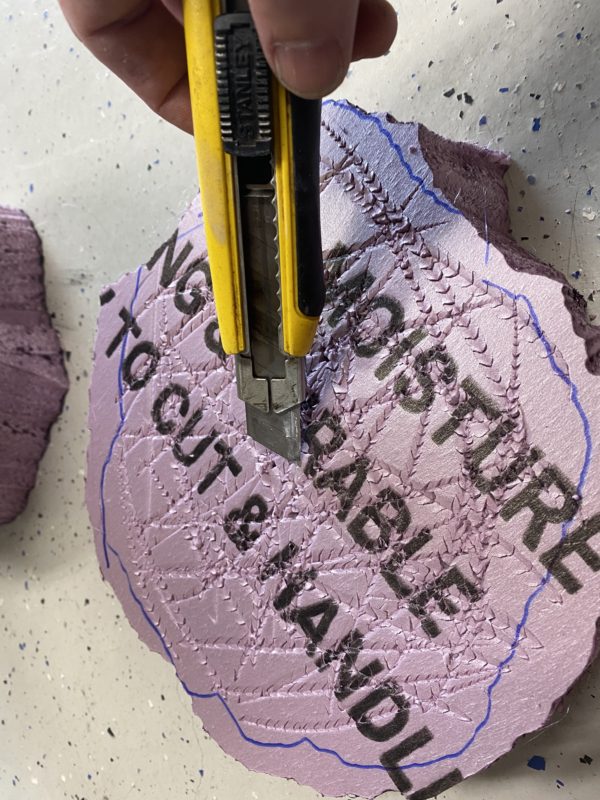
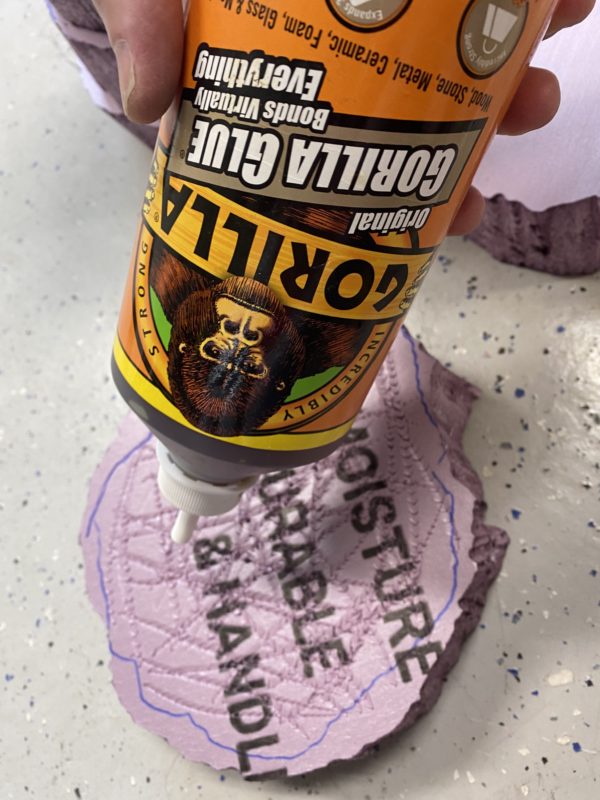
Adding buttresses
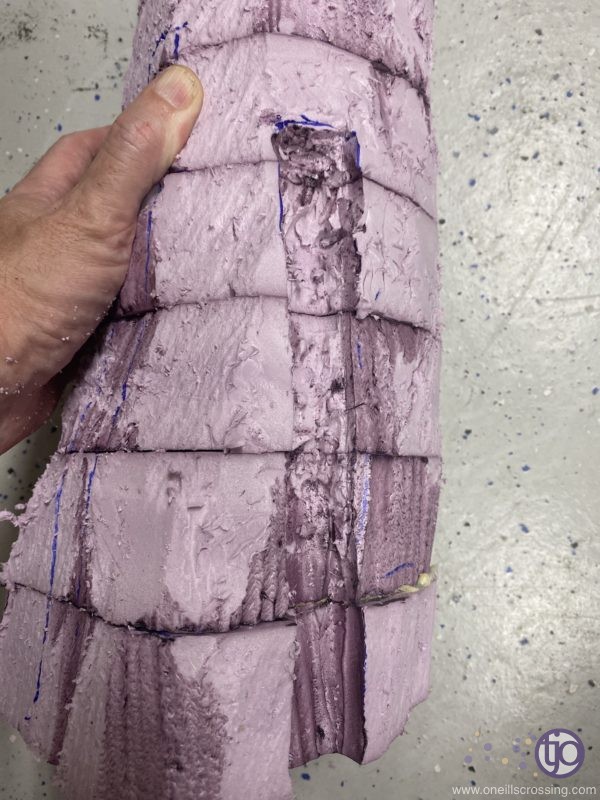
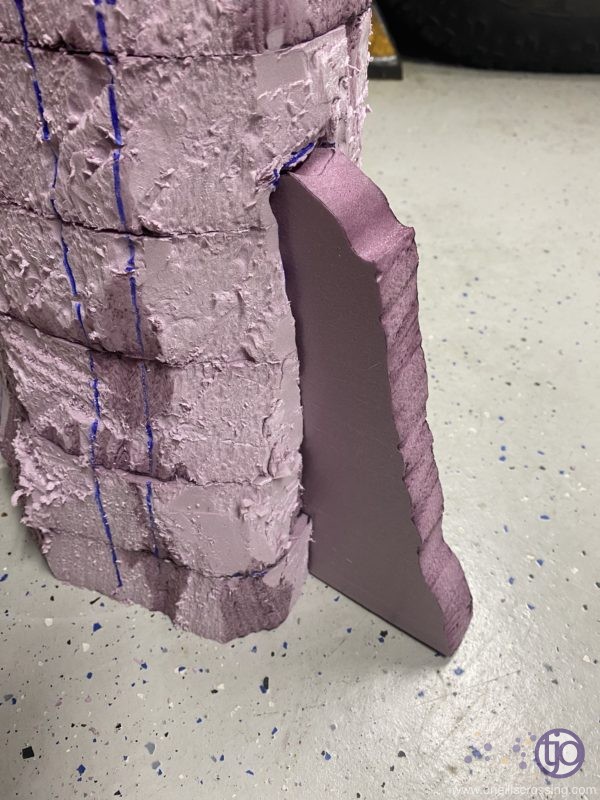
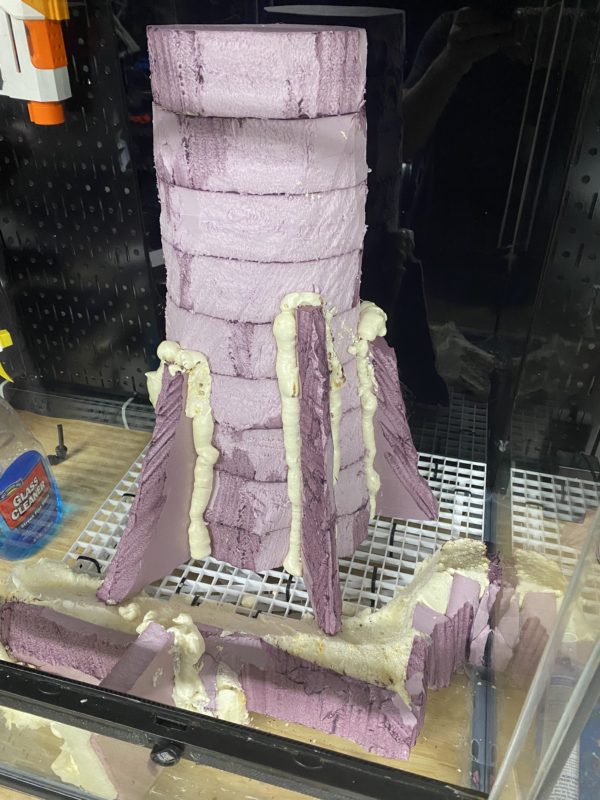
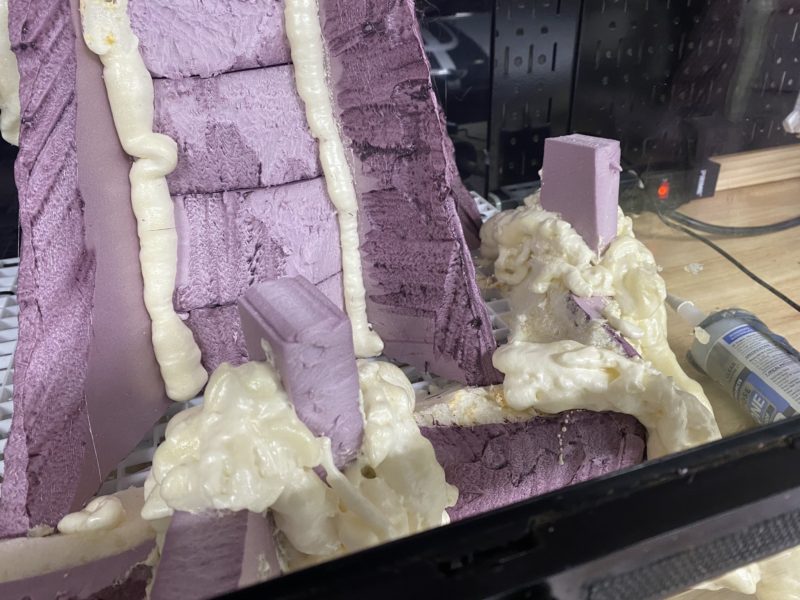
Once I had the height right, I carved slots in the sides of the trunk for buttresses, again test fitting before final gluing of the buttresses in place:
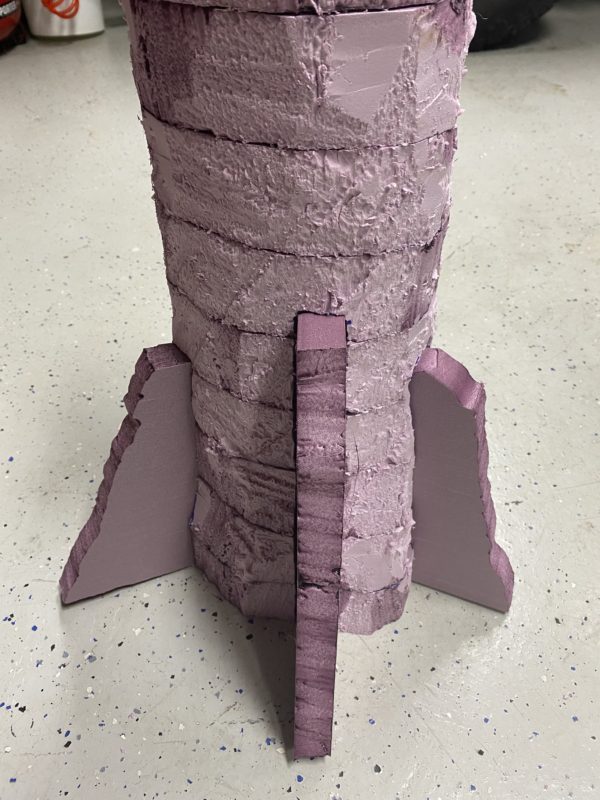
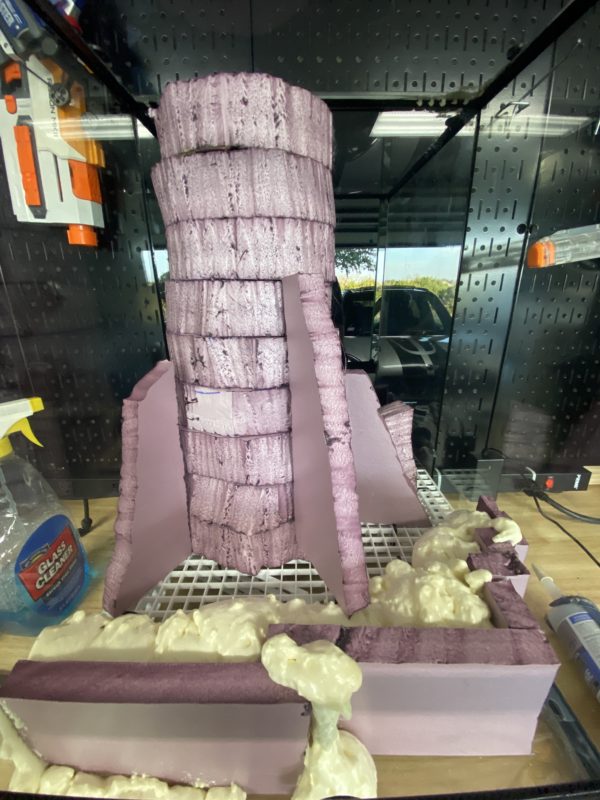
Great stuff-ing
Once I was happy with the buttresses I used great stuff to fix the buttresses in place. This would allow me to more precisely carve and shape the buttresses while making them seamless with the trunk:
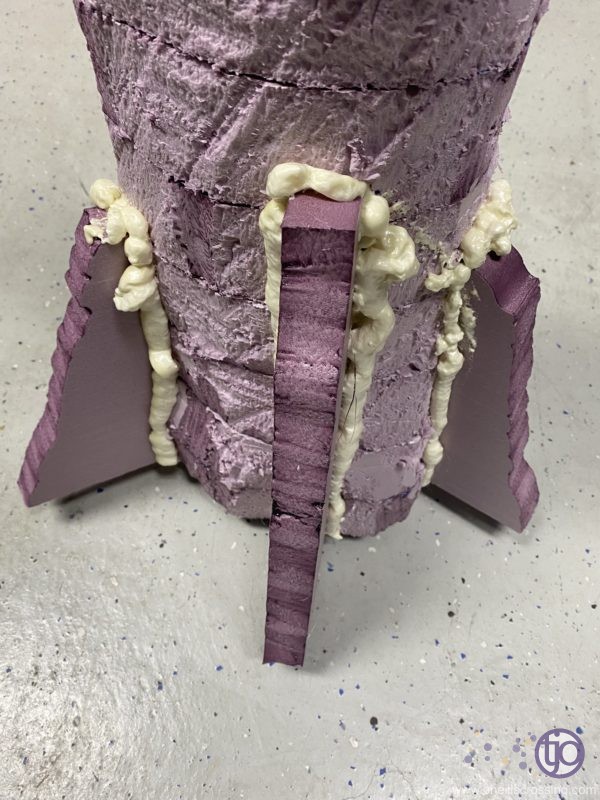
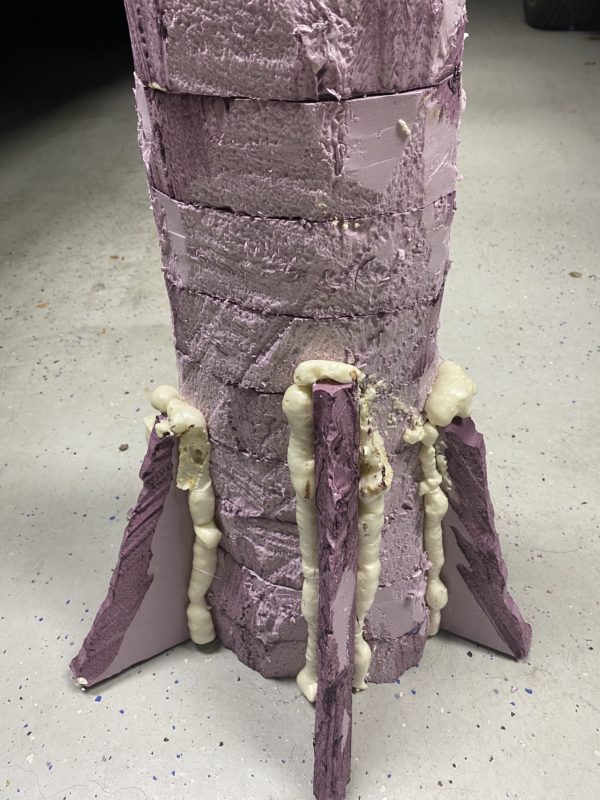

Detailed carving and bark textures
Now that the basic structure was in place I could start detailed shaping and texturing.
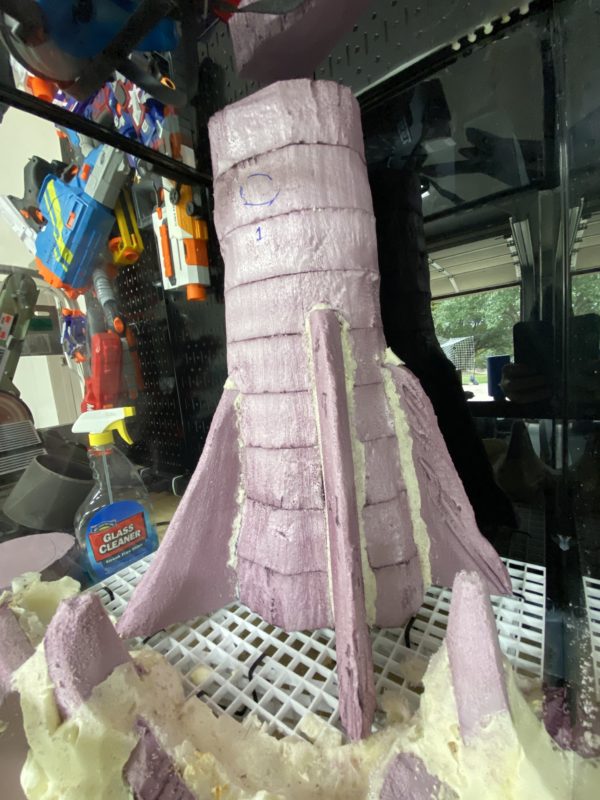
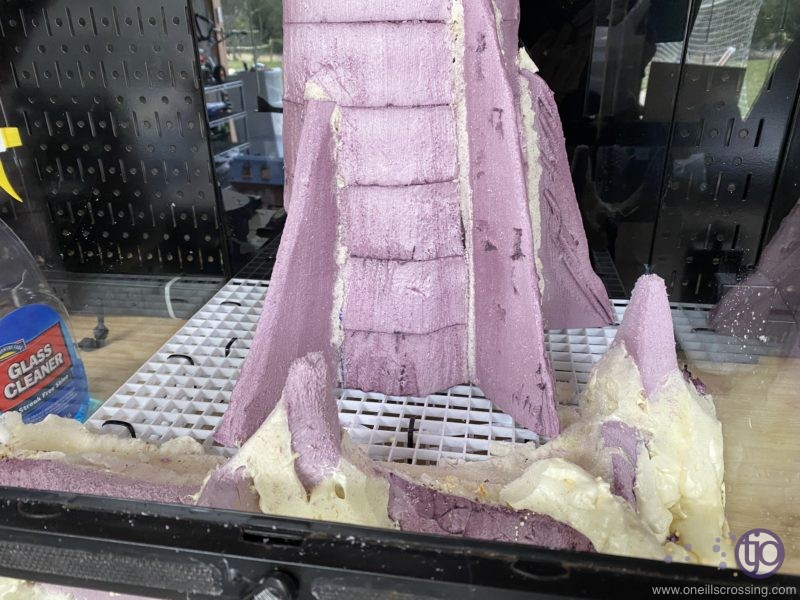
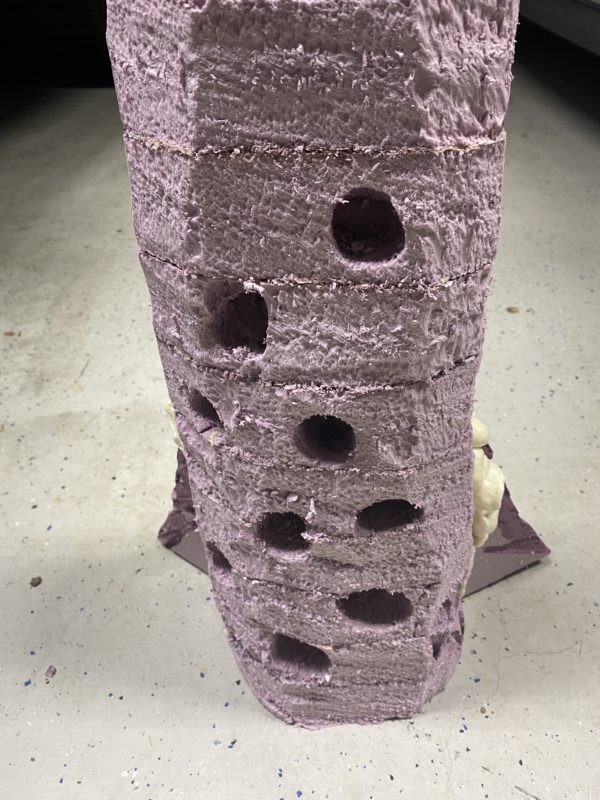
I added a series of bowers to the rear of the trunk – the inhabitants are intended to be thumbnail dart frogs, so I wanted to give them ample vertical space to use while providing lots of visual barriers in a relatively small footprint. The use of this style of bowers had worked well for me in larger vivs, so I figured I would give it a try in this style.
You can see the general shape forming.
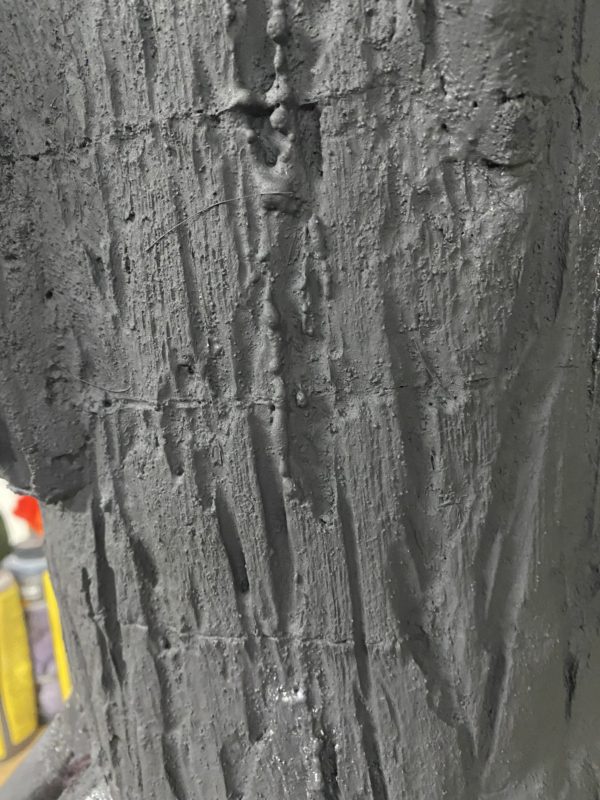
I then used a foam cutting knife to create bark like texture. I seem to have missed some photos of this part of the build, so I included a close up with the first layer of paint applied:
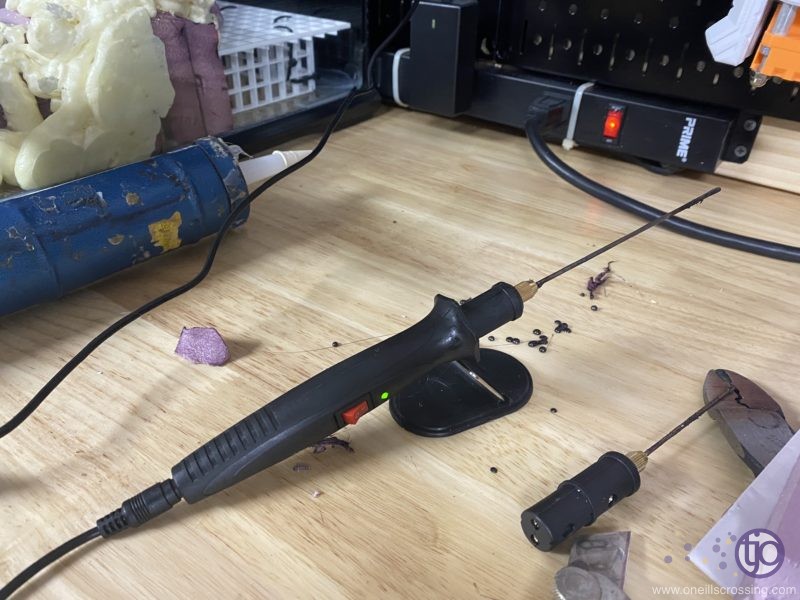
Branches!
So I managed to miss photographing the step where I cut and formed branches out of strips of Foamular. I shaped cylinders of foam with a wire brush, then heated them with my heat gun to bend and shape. Once I had them shaped, I glued them to the top of the trunk, then cut and glued the branches to the top glass cover of the viv. Here’s a look at the branches in place with the first layer of paint going on:
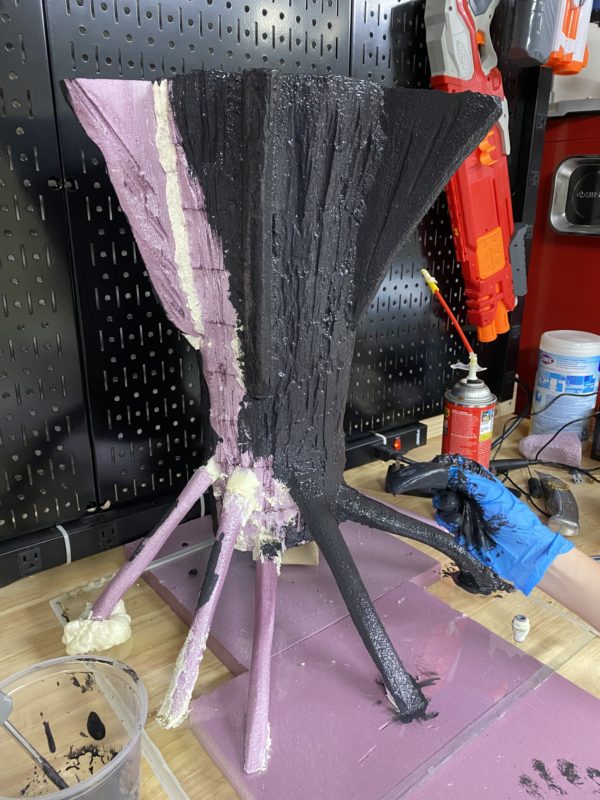
My goal with this design was to provide a flower pot like structure at the top of the trunk with supporting branches that would encourage growth of the show piece plant in this vivarium, Davallia parvula. I’ll spend more time talking about this plant below, including the original viv where the plant was being transplanted from.
Drylock
The final phase of the hardscaping build was paint. I used tinted drylock, starting with a base layer of charcoal tint, followed by a layer of brown, then a medium tan, then a light tan. The browns and tans were applied with a dry brush technique to give the illusion of depth.

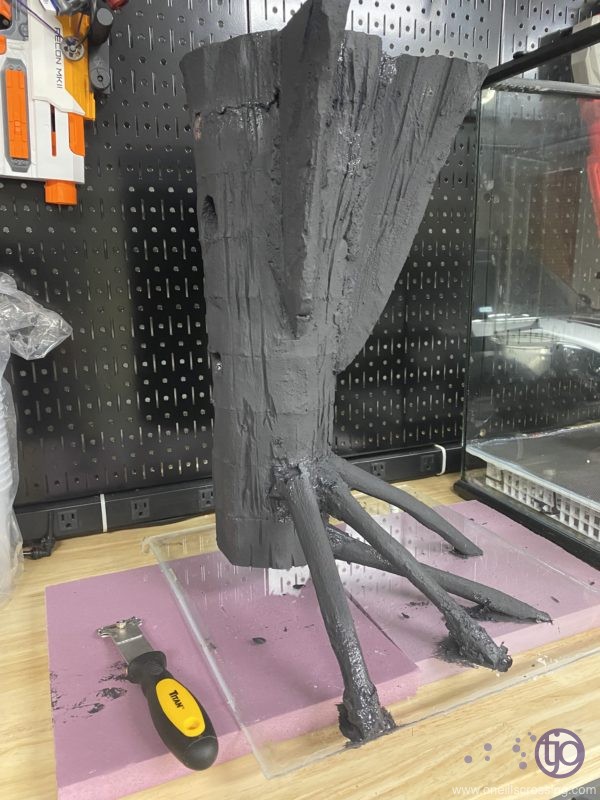
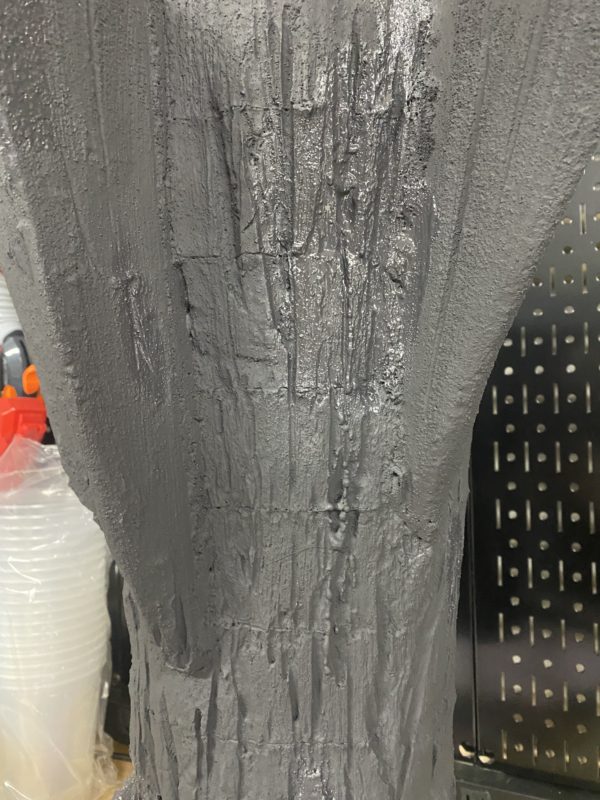

I worked with the tree upside-down so that I could rotate it using the glass top as a base. This allowed for easier paint application to the rear of the trunk. I would later silicone the glass to the top of the viv after painting was complete.
Wrapping up
With the hardscaping done, it was time for the final touches, planting and moving in frogs.
Vivarium planting
As I mentioned above, I built this tank specifically for Davallia parvula, which I had been growing in another trunk viv for nearly a decade. I really enjoyed that viv, which used a large cork round glued to the top of a vivarium as the center piece. The Davallia parvula thrived in this setup and covered the entire trunk, but over time, the cork round degraded and collapsed. I decided to build a foam structure this time which should last a lot longer.
I harvested the Davallia parvula from this viv:
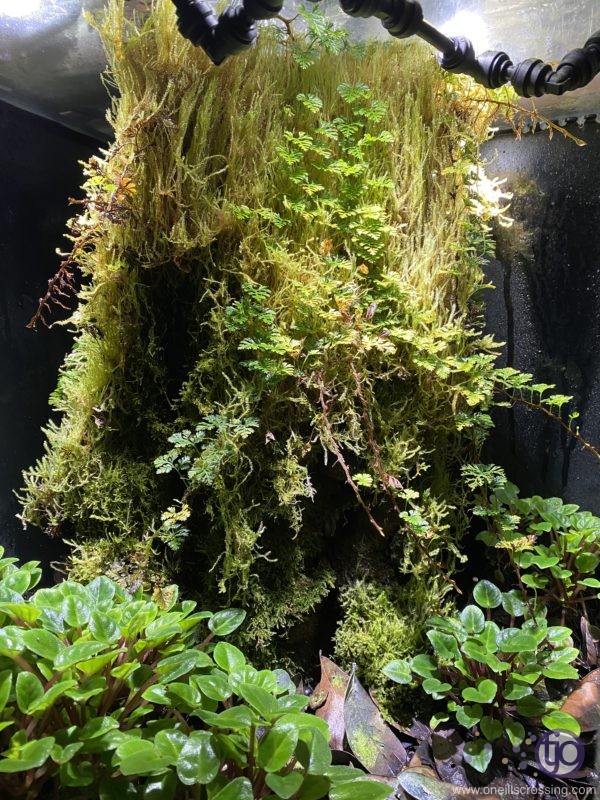
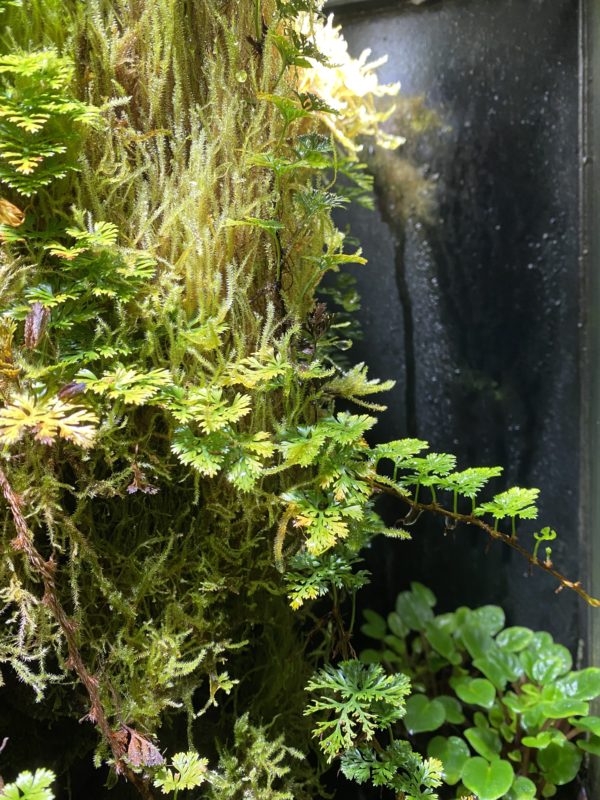
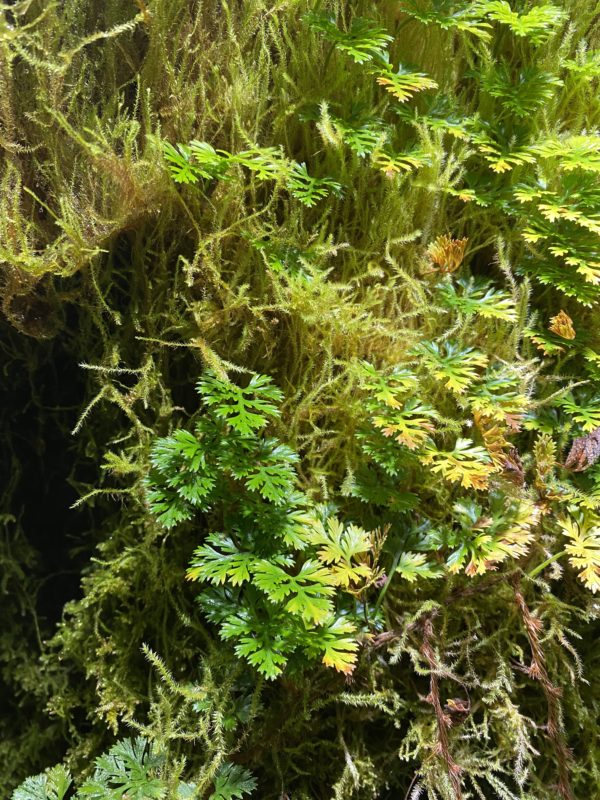
I also transplanted the dwarf african violets I had growing in the substrate. The final planting looked like this:
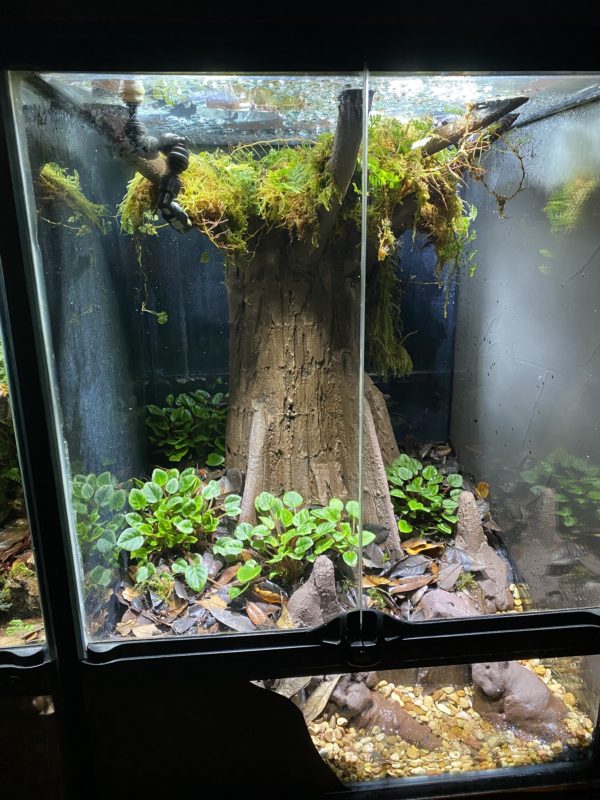
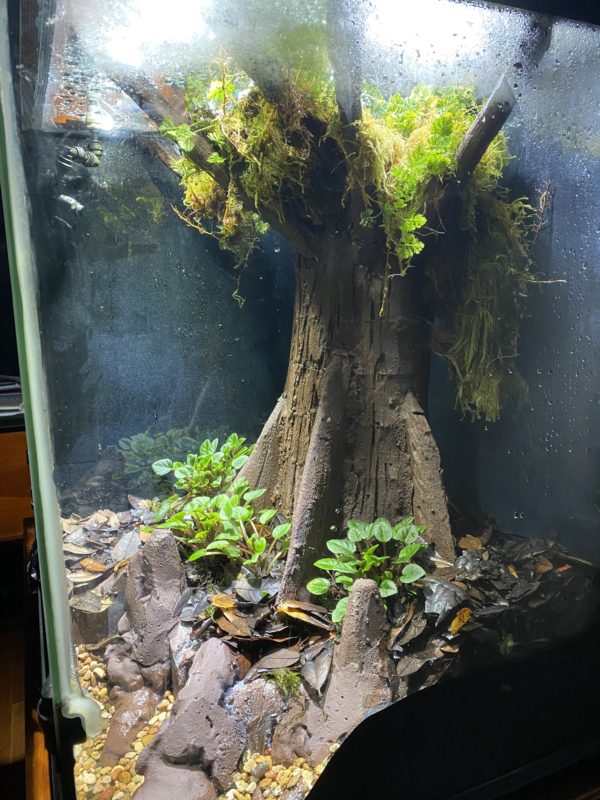
And about a year later, I started getting some really nice fronds cascading from the top:
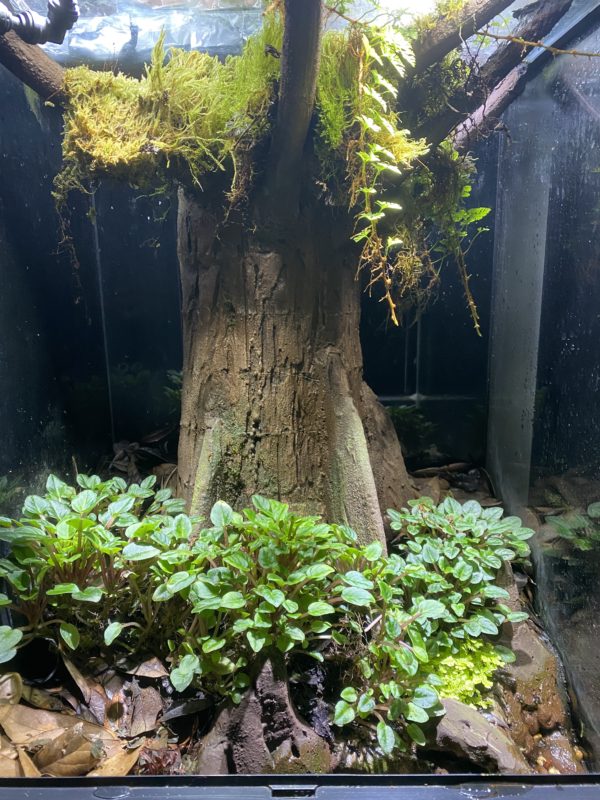
The african violets have done exceptionally well too, and I have been harvesting runners from this viv for other projects over the course of the year. I also added two species of selaginella near the front of the viv for some color near the root structures.
The inhabitants
The final addition to the Davallia parvula bald cypress project was a group of Ranitomeya reticulata. You can read more about my frogs here.
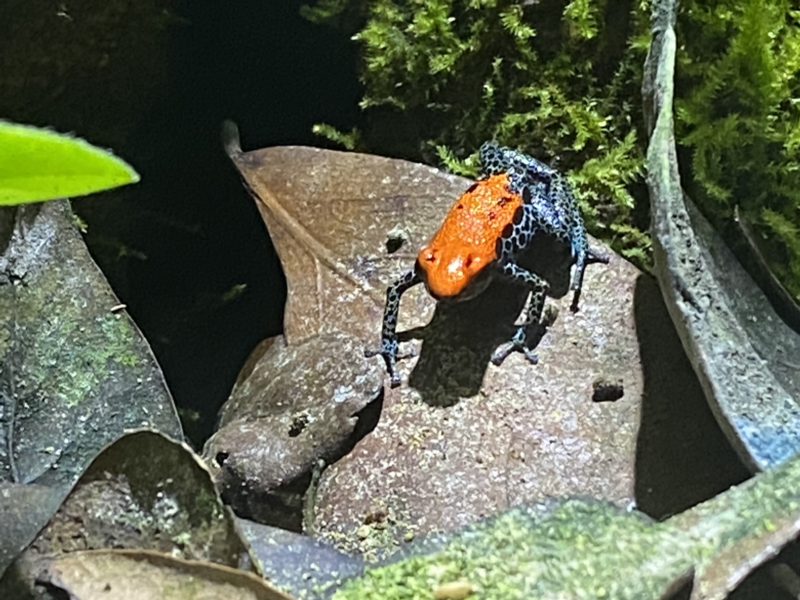
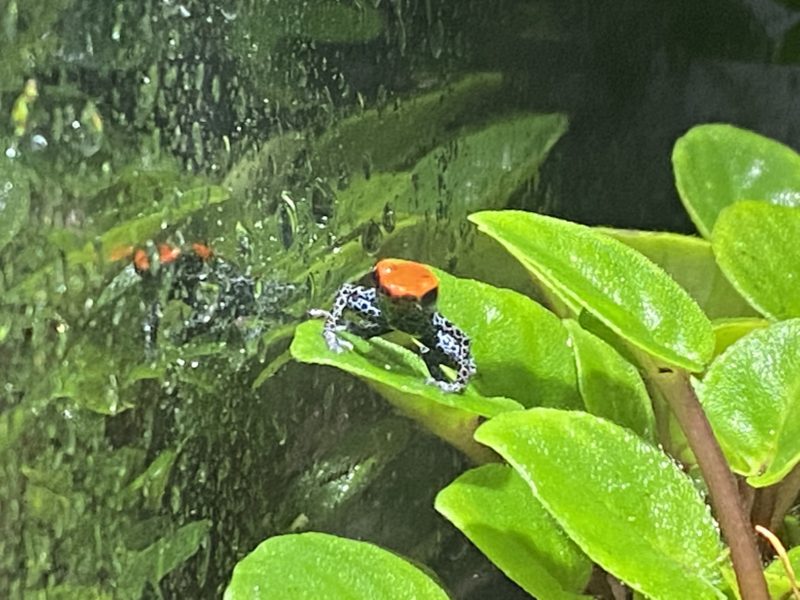
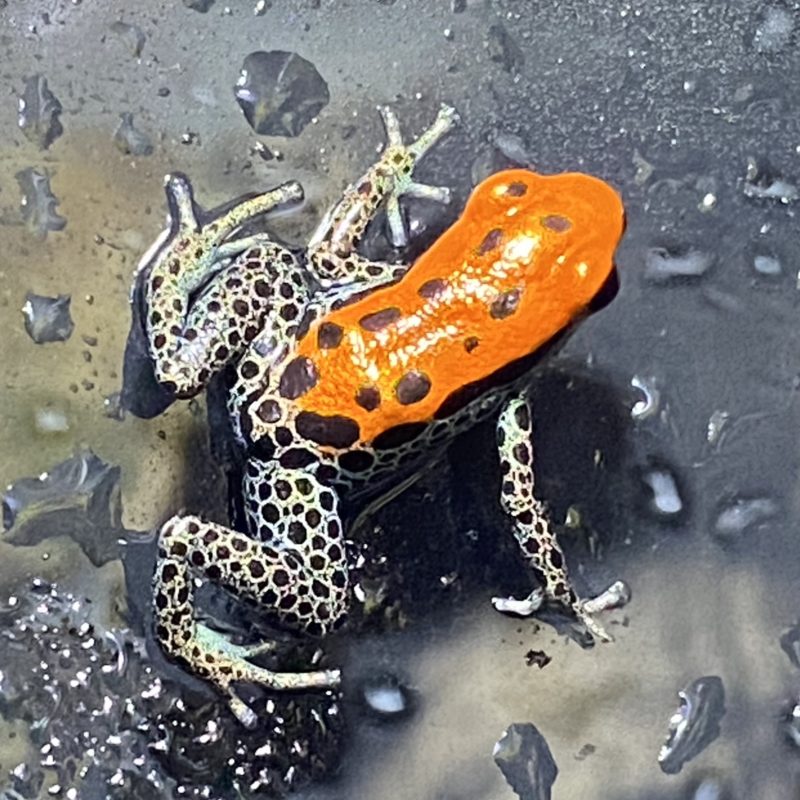
These have been a favorite frog of mine for quite some time, so I thought pairing one of my favorite animals with my favorite plant would make for a really special viv. So there you have it, the full details on how I build the bald cypress Davallia parvula viv.

