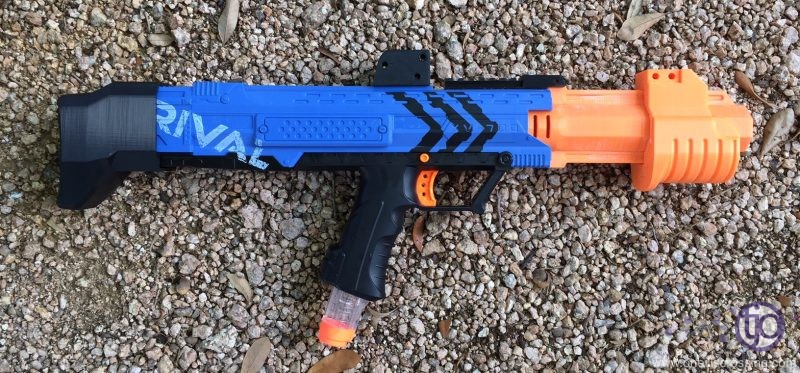
I picked up two Nerf Rival Apollos during the 2017 Amazon Prime Day – they were on a steep discount and I thought I’d snap two up for chronograph work.
Well after a full run through the chronograph I decided they were a likely candidate for becoming my reference blaster that I would use for extended tracking of the reproducibility of my chronograph setups.
I started looking around for pump kits that would help increase my rate of fire to speed up the profiling process. Most kits were in the neighborhood of $50 to $80, without shipping. I started poking around thingiverse.com and found this and this. I decided to go ahead and give this printed pump kit a try before splurging for an F10555 model. This page documents the print and installation process of a Nerf Rival Apollo blaster pump grip upgrade.
Back to dart blasters!
Printing
Download the STLs for:
- Nerf Apollo Pump Conversion and stock by counterstrikegamer44
- Apollo pump barrel Split by Dr_Craw (if you have a small printer)
setup and planning
I played around with assembling different runs of prints, noting the time required to print at different printer configurations. I have a Lulzbot Mini running Cura. I decided to print with the following settings for my first pass:
- 0.18 mm layer height
- 20% infill
- 205 C head temp
- 60 C bed temp
- printed with supports (“Everywhere”)
Here’s a view of the first group of parts that I am using for my Nerf Rival Apollo pump grip conversion, which includes the grip from the original design, and the split barrel from the remix (my build area is not large enough for the full print):

Here’s a close up of the plate layout for this run:

The second group printed the remaining parts which included the grip slide, picatinny, left and right priming bar and the barrel to picatinny attachment:

I printed the slide horizontally in this run, but this aligned the print direction with the barrel which will likely cause excessive noise when priming.

After this run completed I printed an additional slide vertically, which rotated the print direction 90 degrees, aligning the print striations perpendicular to the barrel, reducing priming noise:


3D printing

My second plate of prints included the remaining parts. In the end, I didn’t use any of these prints :). I ended up printing the slide in a different orientation, and I decided to print the picatinny and priming attachments in black which I felt was a better color layout for the overall blaster. Anyhow, here’s the second plate of prints I ended up not using:


zip zip reduction
My effort to mitigate priming noise (“zip zip!”) involved a second run print of the slide in a different orientation. The easiest and fastest orientation to print mirrors what I did for the barrel, but the grip print layers align parallel to the barrel in this orientation which will make that awful zip zip noise. I reoriented the slide to vertical which requires extensive supports but it shifts the print layers perpendicular to the barrel which will reduce priming noise. Here’s the final print in the second orientation:

color scheme change
Here’s the final run of prints I did for this build. I switched to black and printed the stock, the picatinny, and slide attachments. I thought the orange barrel, slide and grip worked well screaming “I am a toy!” while the black stock and attachment pieces blended with the stock blaster color scheme:

And some alternate views:


Assembly
Now that the prints were done I had some serious prep work ahead of me. Here are some of the highlights of the assembly work.
barrel
I spend several hours filing and sanding the barrel pieces to knock down as many of the print ridges as I could to reduce priming noise. After initial file work and sanding I glued the two barrel pieces together. I used Testors model cement which I hope will provide a good coupling between the two pieces. I used a clamp to hold the barrel in place while the glue cured:

Closer …

Closer …

The last view showed the glue as it cured. After the glue cured I used my files and 400 grit sand paper to smooth out the joint. I followed that up with a polishing using paper towels and Turtle Wax buffing compound. This worked really well at knocking down the priming noise.
barrel test fit
After the glue cured I did a quick test fit of the barrel and the slide. It’s shaping up nicely! Here’s the base Nerf Rival Apollo blaster with the stock barrel removed, replaced with the two piece extended barrel and the slide with the grip installed:

Final sanding of the barrel was not complete in this photo. You can see the whitish discoloration from my filing and sanding efforts.
lock removal
I decided to remove the locks from the blaster to prevent any potential jamming issues, but I was going to limit my internal modifications to the locks, as I want to use this blaster as an ongoing chronograph reference blaster, so I didn’t want to impact stock performance. Here is a photo of the stock locks in the Nerf Rival Apollo:

And another shot with the stock Nerf Rival Apollo locks removed:

The tricky lock is above the trigger. I didn’t get a complete photo “before” I used an exacto knife to remove the vertical black peg housing the lock, but i did take a picture of the lock still in place after carving out the post:

Here’s the remnant black post and the trigger lock and spring:

And finally a picture with the lock removed:

parts test fit
After I completed the lock removal the black print plate run wrapped up, so I did a test fit of all the printed pump grip parts:

I’m very happy with the color scheme, and I’m glad I reprinted the picatinny and priming bar attachments in black – it seems to be a much better color scheme fit with a stock blue Nerf Rival Apollo color scheme. I didn’t want to repaint the shell, as I rather like the blue and black color scheme.
priming bars
The final fabrication and assembly work of my pump kit upgrade to a Nerf Rival Apollo blaster involved sourcing 1/8″ x 1/2″ x 11″ aluminum bars that will attach the slide to the stock priming handle. I picked up a 4 foot length of aluminum bar from Amazon that I cut to length.
I then taped the two bars together to ensure the holes I needed to drill were aligned. I also used this as an opportunity to grind down the edges evenly on both bars using a dremel with a grinding stone attachment and my hand files. Here’s a test fit of the priming bars with some temporary bolts (the bolts I intend to use were delayed in transit):


After the test fit I disassembled the bars and did some filing and fine tuning. I also polished and cleaned the aluminum bars before coating with black vinyl dye paint and a clear coat, again trying to keep true to the stock color scheme.

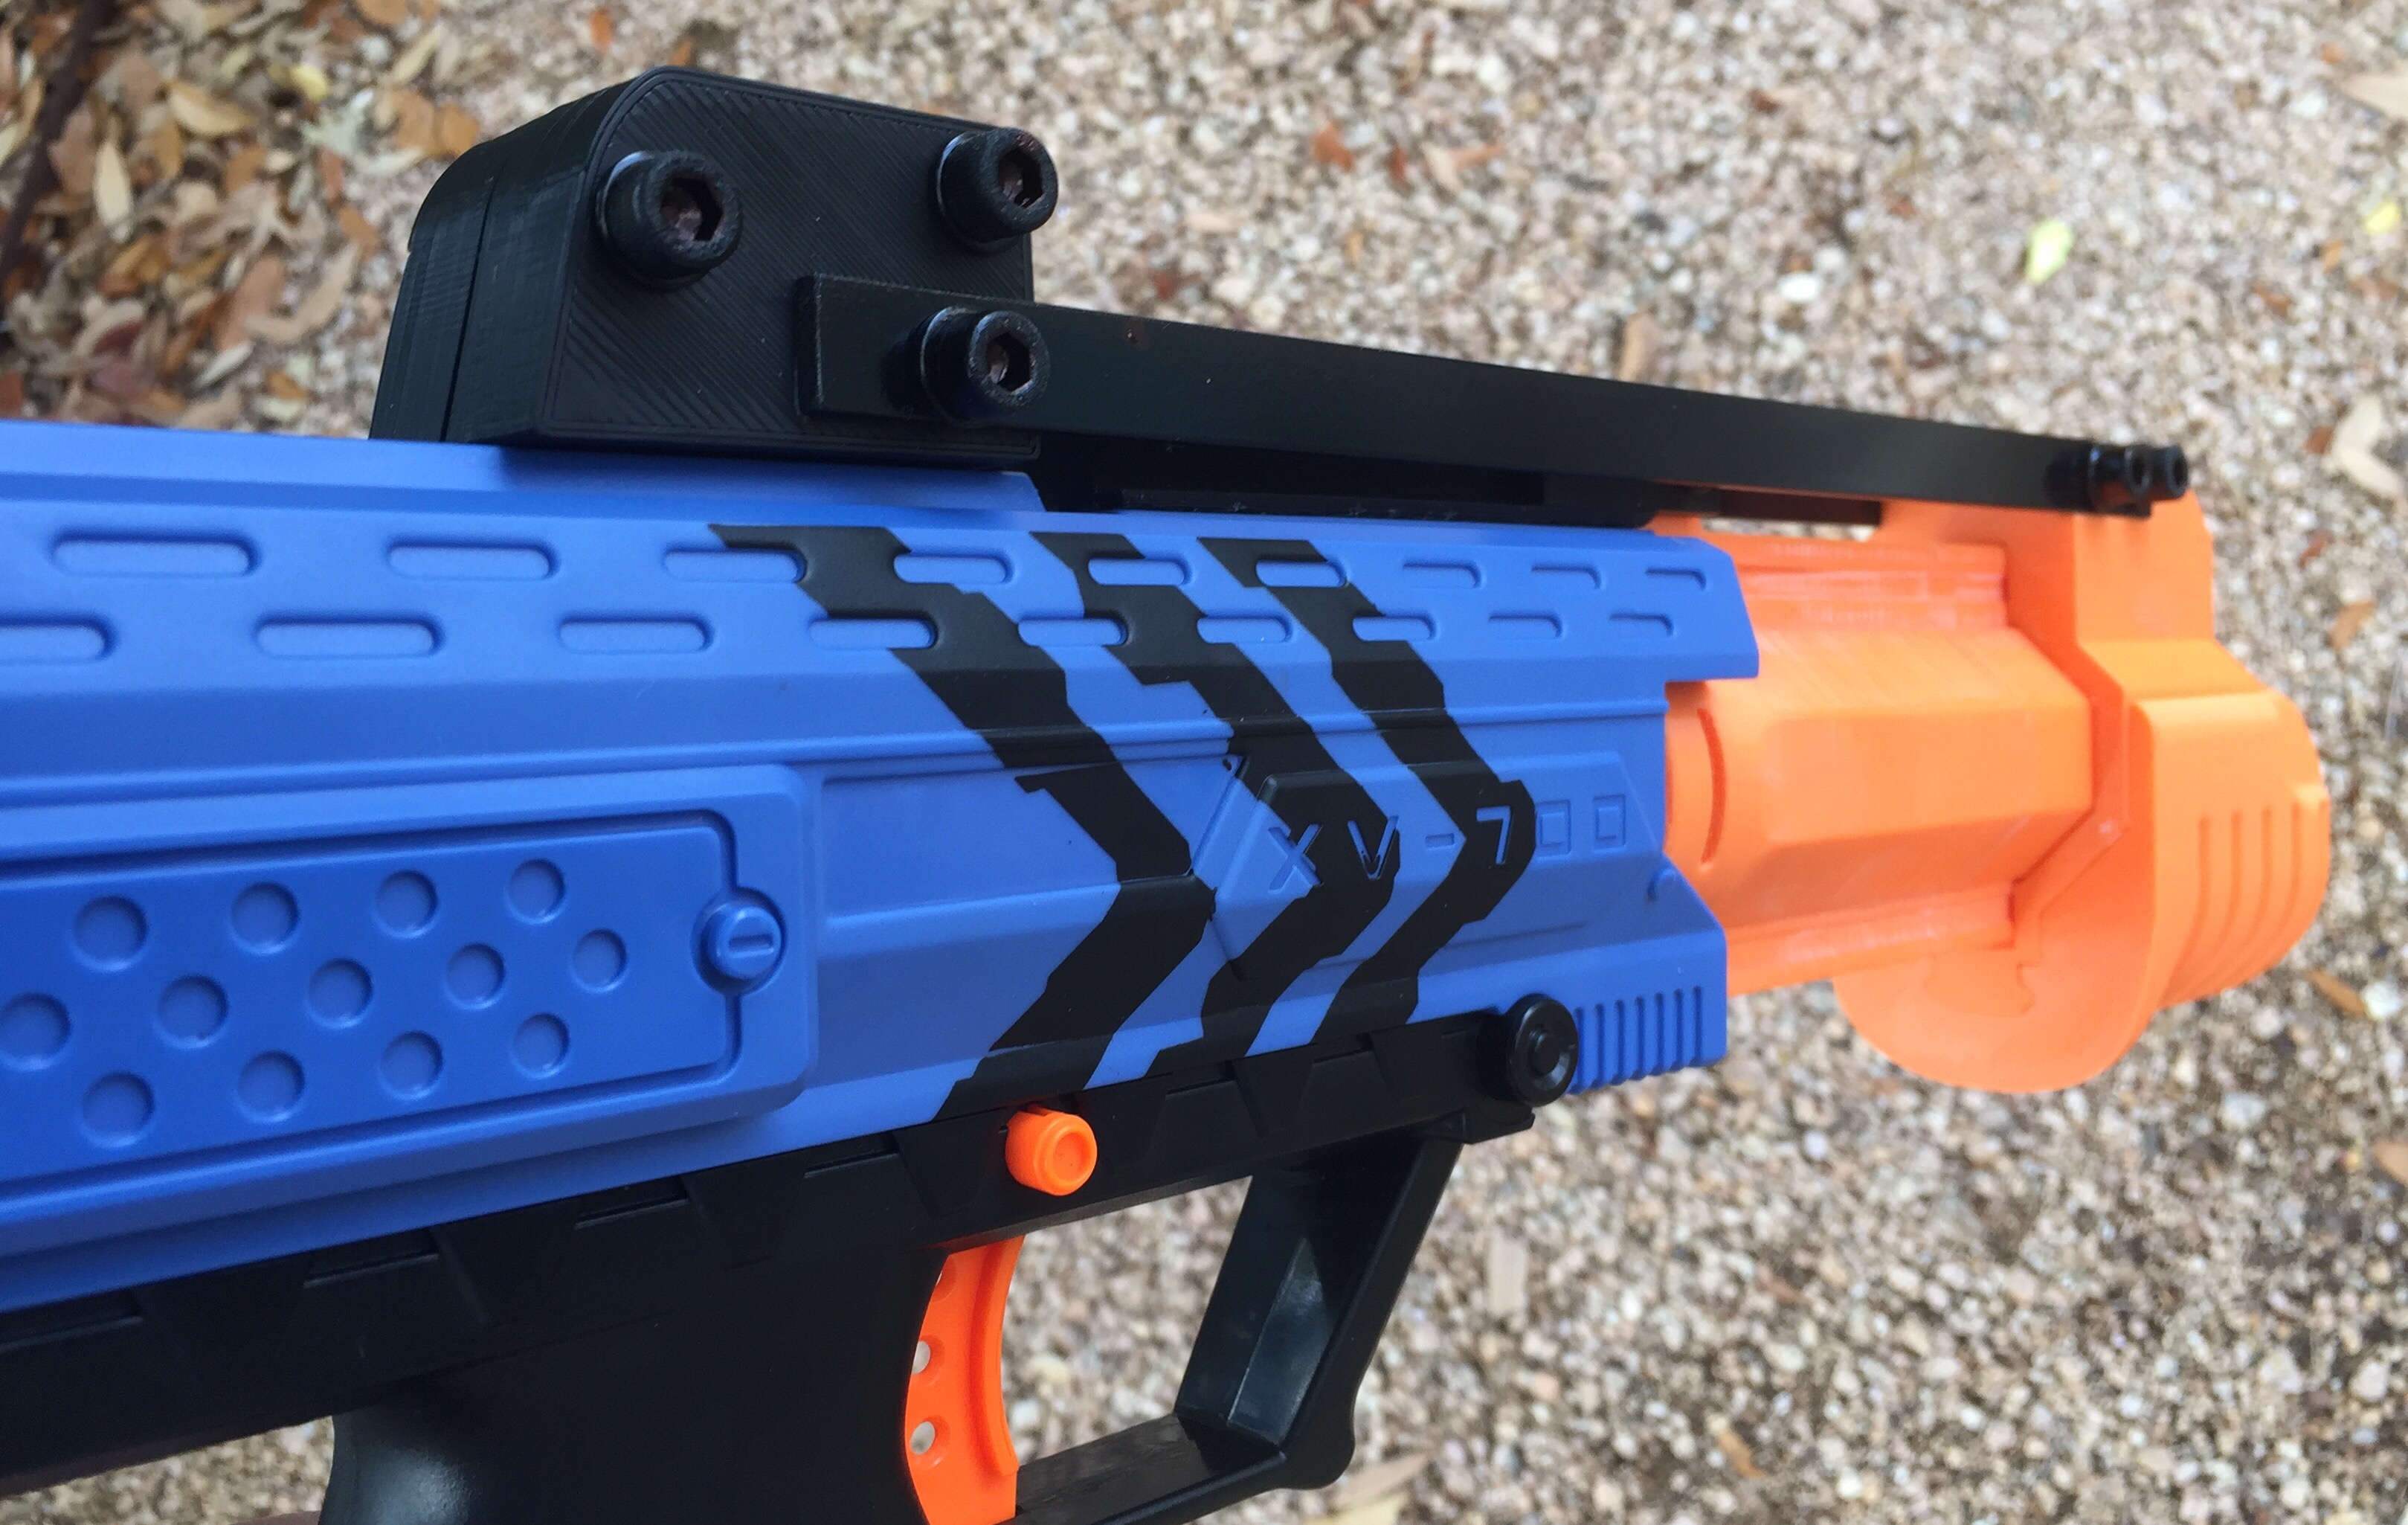
I also painted the bolts I used for securing the bars for a clean look. Here’s the final assembled pump kit on my blue Nerf Rival Apollo:
I have not tightened the prime attachments yet because I have another modification to make when some parts arrive that will require the removal of the prime attachments to gain access to the picatinny rail.
A bit of tacticool
I added two one inch risers and a cheap red dot sight for some tactical accessories. I also customized a version of the stock to extend it to suit my needs:

A few close ups of the totally unnecessary sight:


My remixes
extended stock
I made two modifications to parts included in the original design. First I found the stock to be a bit too short. I lengthened the stock by about 48 mm. I found that attempting to use the stock as cheek rest was not feasible and I needed a slightly longer stock. I stretched the model by just under 50 mm, and hollowed out the extension:
And the final product:
picatinny riser
I also wanted to try replacing the aftermarket picatinny risers I was using with a customized picatinny that allowed for the use of the picatinny to barrel piece provided in the original kit while providing enough of a rise to mount a sight. Here’s what I came up with:


Testing
I ran the Apollo 1 (the copy under modification in this post) through a chronograph before and after my modifications to verify it’s fps consistency. Both blasters fired 102 +/- 5 fps prior to modifications. The Apollo 1 recorded 104 +/- 4 and the stock Apollo 2 recorded 103 +/- 5 after the modifications. These velocities are all within expected ranges. Here is the summary data from before (left two columns) and after (right two columns):


